How to Create Your UPI Number Using a Mobile Banking App

Did you know that of the ₹1,572 trillion in transactions made in the first half of 2025, ₹1,536 trillion, or 99.8%, were made using UPI? This shows how popular UPI has become among Indians, traversing both the urban and rural populations.
From bill payments to sending money to friends, or even paying off your loan EMIs, everything is made a lot easier and quicker with a UPI ID. However, if you still happen to be one of the few who haven't joined this digital bandwagon yet and want to get started, well, the process really isn't that complicated.
Let's learn how to create a UPI ID and how the entire process works to ensure that you can start transacting instantly!
How to Create a UPI ID Using Mobile Banking Apps
Creating your UPI ID is easy and takes less than five minutes. All you need is a smartphone, a stable internet connection, and a mobile number linked to your bank account. Here's the simple process on how to create a UPI ID -
Step 1 - Download and Install your Preferred UPI Application
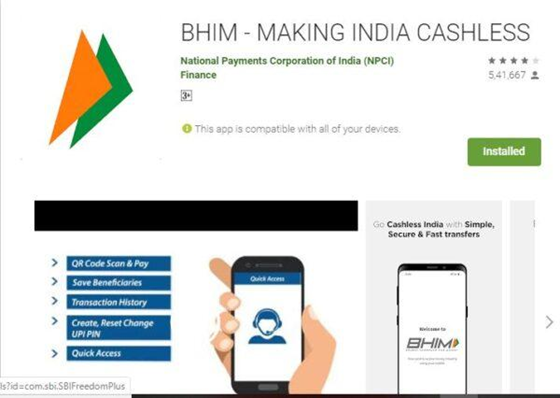
To get your payment address, download any trusted UPI app from the App Store. It can be Google Pay, PhonePe, BharatPe, BHIM App, or even your Bank's Payment App.
Pro Tip - Only download apps from verified app stores. Avoid links shared on social media or messages.
Step 2 - Register With Your Mobile Number Linked to Your Bank Account
Once you have downloaded the app of your choice, open it and proceed with the registration process.
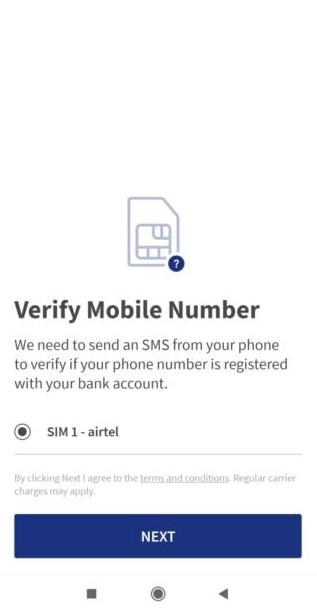
For that, verify your mobile number that's linked to your bank account. An OTP (One-Time Password) will be sent for verification on this number.
Step 3 - Link Your Bank Account in the App Securely
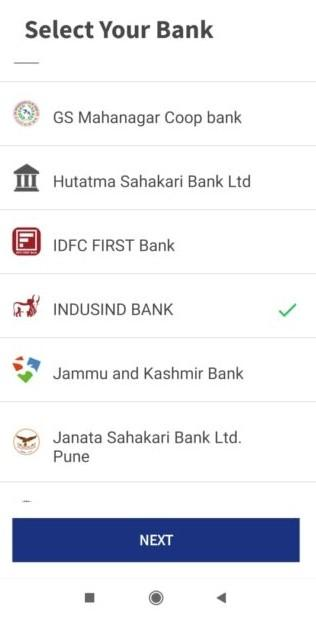
After your number is verified, the app will automatically detect your bank account using your mobile number. If you have multiple accounts, just select the one you want to connect to UPI.
This step is where the magic happens, as the app establishes a direct, secure bridge between your bank and your phone.
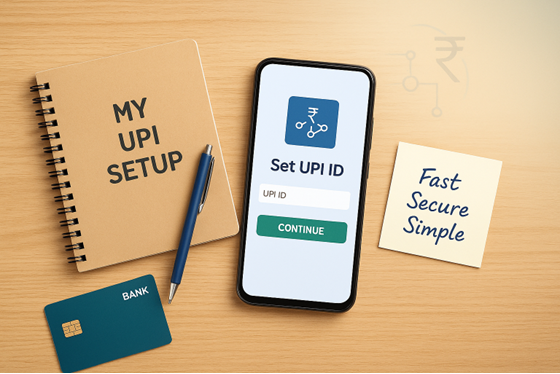
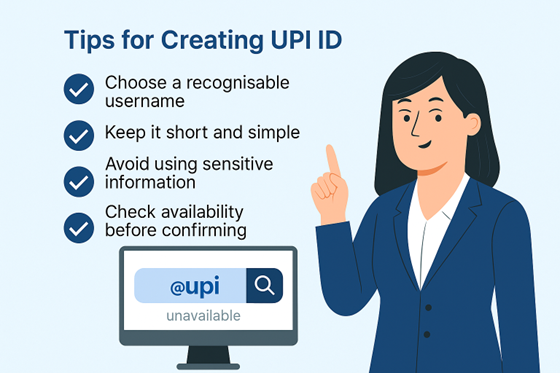
Step 4 - Create and Customize Your UPI ID
Now, create your UPI ID or your Virtual Payment Address through which you will handle the payments. A typical UPI ID looks like yourname@bankname or mobilenumber@upi.
When setting up this UPI ID, you can customize it to your preference. For example, instead of some arbitrary string, you could choose something as simple as rajiv@axis or anita123@okicici.
Step 5 - Verify and Confirm Your UPI ID
Once your UPI ID is activated, you will receive a confirmation message on your registered number. To test whether it works, try sending a small amount to a known person and check whether the transaction goes through.
Also Read - How UPI Is Redefining Instant Loan Repayments in India
How to Set or Change UPI PIN for Secure Transactions
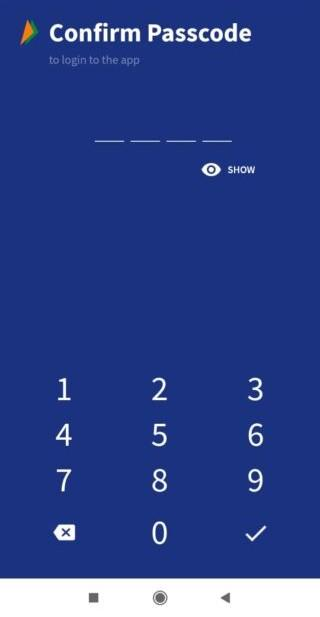
Once you have set up your UPI ID, you also need to create your UPI PIN. This is a 4- or 6-digit number you need to use to authorize a transaction and is crucial for your account security.
Here’s how to create a UPI PIN -
Open your UPI app and go to Settings or Linked Bank Accounts.
Select your connected bank.
Choose "Set UPI PIN" or "Change UPI PIN", whichever option applies to you.
Enter the last six digits of your debit card and its expiry date.
You’ll get an OTP from your bank. Enter it when prompted.
Create a secure 4- or 6-digit PIN.
Here's how to change a UPI PIN -
Open your UPI app and go to settings or the profile section.
Choose the bank account and click on the "Change UPI PIN" option.
Enter your old PIN and then the new PIN, and save it.
Alternatively, you can follow the on-screen prompts to verify with your debit card or Aadhaar details if you have forgotten the old PIN.
Note: Your UPI PIN should not be shared with anyone. If you suspect any breach, change the PIN immediately.
Also Read: How to Set up a UPI PIN Without a Debit Card?
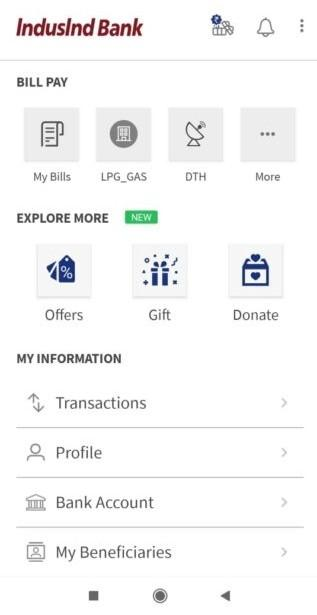
How to Find Your UPI ID in Different Apps
Kowing where to find your UPI ID is useful when you need to share it to receive payments. Here's how you can find it if you do not recollect it or have forgotten it:
BHIM UPI App
Open the app and look at the top of your home screen. Your UPI ID is typically displayed prominently, making it easy to spot. If not, tap on the Profile or My Info section.
PhonePe App
Tap your profile picture in the top left corner. Under My UPI IDs, you’ll see all your active IDs listed. If you’ve linked multiple bank accounts, each will have a separate UPI handle.
Google Pay
Tap your profile picture, usually located in the top right corner. Your primary UPI ID will appear just below your name. You can also view multiple IDs under 'Bank accounts'.
Also Read- How UPI is defining Instant Loan Repayments in India
Pay your Loan EMI Using UPI Number
Once you have set up your UPI ID, you can easily send money, receive funds, and even pay your bills or utility payments online. With UPI, it is as effortless as sending a message, and it is completely secure and transparent.
The best part is that you can even use UPI to pay your loan EMI in just a few seconds. With trusted platforms like Hero FinCorp, you cannot just pay one instalment using UPI but also set up UPI AutoPay, ensuring you never miss any payment deadlines.
So the next time your personal loan EMI is due, you don’t have to worry. Just use your UPI ID to make the payment in seconds or set up autopay, ensuring that you never miss an EMI and can live your life with confidence.
Advantages of Using a UPI ID for Financial Transactions
Using UPI ID for transactions makes digital payments faster, safer, and easier for everyday use.
- Instant money transfers anytime, including holidays
- Secure payments with two-factor authentication
- No need to remember account numbers or IFSC codes
- Accepted for shopping, bill payments, and transfers
- Usually no extra transaction charges
- Easy to use through simple mobile apps
How to Manage Multiple UPI IDs: Adding & Deleting Extra Handles
Managing multiple UPI IDs can help you organise personal, business, and subscription payments more efficiently. You can create a new UPI ID for a different purpose and reduce confusion while tracking transactions.
To Add a New Handle:
- Open your UPI-enabled app and go to Profile or Settings
- Select “Manage Handles” or “Create New Handle”
- Add a new handle linked to your existing account
- Use different handles for shopping, business, or personal payments
To Delete an Extra Handle:
- To remove an extra UPI ID, select it under Manage Handles
- Tap Remove or Delete and confirm using your PIN
Conclusion
Creating a payment handle through a mobile banking app makes digital payments simple, fast, and secure. From sending money to paying EMIs and utility bills, this system helps manage everyday transactions with ease. By following safe practices like setting a strong PIN and using verified apps, users can enjoy convenient and reliable banking anytime, anywhere.
Frequently Asked Questions
What is the difference between UPI ID and UPI PIN?
Your UPI ID is more like a bank account number that helps you to send or receive money. Your UPI PIN is secret, and it is a 4-or 6-digit number, which you will need to enter every time you authorize a transaction.
Can I create multiple UPI IDs with one bank account?
Yes, UPI applications provide the facility of creating more than one UPI ID against a bank account. It also allows linking more than one bank account to a single UPI application.
Is the UPI ID the same across different apps?
Not always. Each app usually gives you its own version of a UPI ID, even if they’re all linked to the same bank account. For instance, the BHIM app might generate something like yourname@upi, while Google Pay could create yourname@okicici.
Can I change my UPI ID after creating it?
No. While some apps let you choose your own username when you set up your UPI ID, you cannot change it after it has been activated. So it’s worth taking a few extra seconds to pick something simple, personal, and easy to remember.
What is the difference between a UPI ID and a VPA?
A UPI ID and VPA are essentially the same, both acting as unique payment addresses linked to your bank account.
Can I use UPI services with a current account, and what are its daily transaction limits?
Yes, current accounts support UPI services. Daily transaction limits vary by bank, account type, and applicable NPCI regulations.
Is it possible to register for a UPI ID without a debit card?
Yes, some banks allow UPI registration using Aadhaar authentication instead of a debit card through supported banking applications.
Are there any hidden service fees or charges applied to standard UPI ID transfers?
Standard UPI ID transfers are usually free for users, though certain merchant or credit-linked transactions may attract charges.
Disclaimer: The information provided in this blog post is intended for informational purposes only. The content is based on research and opinions available at the time of writing. While we strive to ensure accuracy, we do not claim to be exhaustive or definitive. Readers are advised to independently verify any details mentioned here, such as specifications, features, and availability, before making any decisions. Hero FinCorp does not take responsibility for any discrepancies, inaccuracies, or changes that may occur after the publication of this blog. The choice to rely on the information presented herein is at the reader's discretion, and we recommend consulting official sources and experts for the most up-to-date and accurate information about the featured products.